Getting Started
Change default text format
The default text format is Plain text.
If you want to use Markdown as the default text format, please do the followings:
- Go to
Settings->Manager->Editor & Viewer - Select
Markdown - Click
Update settingsbutton
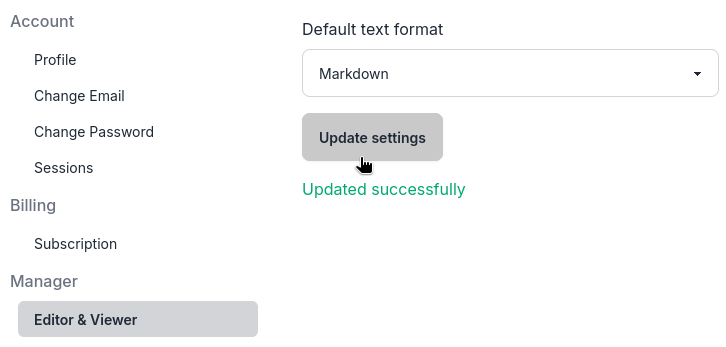
Change default text format to markdown
Import Bookmarks
-
Export bookmarks from the browser Firefox or Chrome
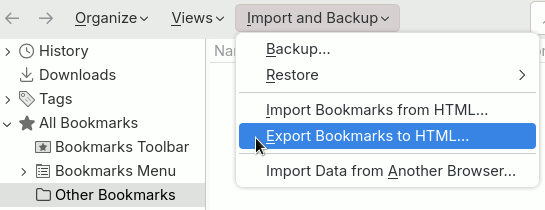
Backup bookmarks from the browser -
Select a system and click the "Import" button on the top bar of the entity list window. You may need to click the More button "⋮" first.

Click import button
Click more and import buttons -
On the import page, select "Which system as root of imported bookmarks", such as the "Bookmarks" system
-
Select the bookmarks backup file just exported from a browser, such as the
bookmarks.htmlfile -
Click the "Import" button
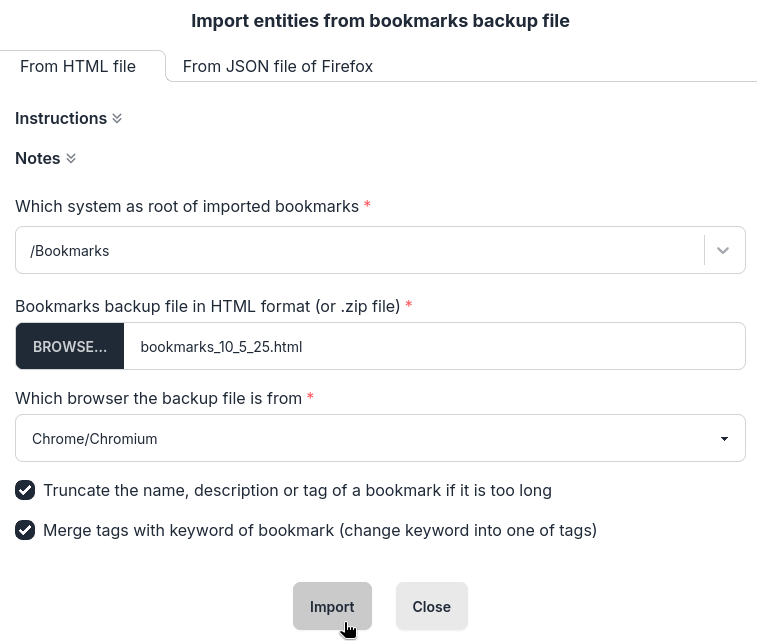
Click import button -
Review the statistics of importing and click the "Close" button.
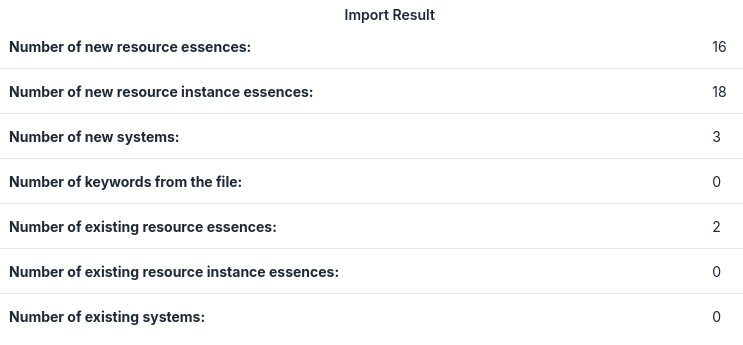
Import result
Create a System
-
If operating on a mobile phone, first tap the three-line menu button " ☰ " in the top-left corner to open the system tree page.

Tap the three-line menu button
System tree on phone -
Right-click the name of the parent system, such as the root system "ROOT"
-
In the pop-up menu, click "Create"

Click Create button to create a system -
On the system creation page, select a parent system or enter a string to search and select a parent system. If the desired parent system is the one you right-clicked, no further selection is needed.

Search and select a parent system -
Enter the name of the system, such as "Bookmarks"
-
Enter other optional fields, such as introduction, keywords, etc.
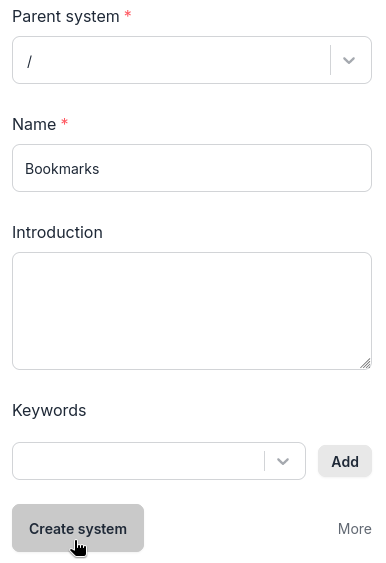
Create a system after inputing a name -
Click the "More" button to show more options
-
Click the "Create system" button
-
After the creation is successful, the name of the subsystem will be displayed under the parent system, for example, "Bookmarks" will be displayed under the "ROOT" system
Create a Resource Instance with URL
-
Click a system name to select it, for example, click the "ROOT" system
-
On the top bar of the entity list window, click the "Create" button for an instance.

Click the "Create" button to create an instance -
If you want to change the parent system, first click
Morebutton, then In the instance creation window, select the parent system of the instance, such as the root system "/"
Select parent system for new instance -
Enter the URL of the resource, e.g. https://metaessen.com
-
Click one option for "Where is the initial essence from": "Database or website"

Click the option "Database or website" -
The software will automatically obtain basic data from the resource page, such as name, description, keywords, etc., and fill in the corresponding fields
-
If necessary, you can edit the content of these fields
-
Click the "Create resource instance essence" button
-
After the creation is successful, you will see the instance essence in the entity list window. When creating a resource instance, a new resource will also be created, or the new resource instance will be bound to an existing resource.
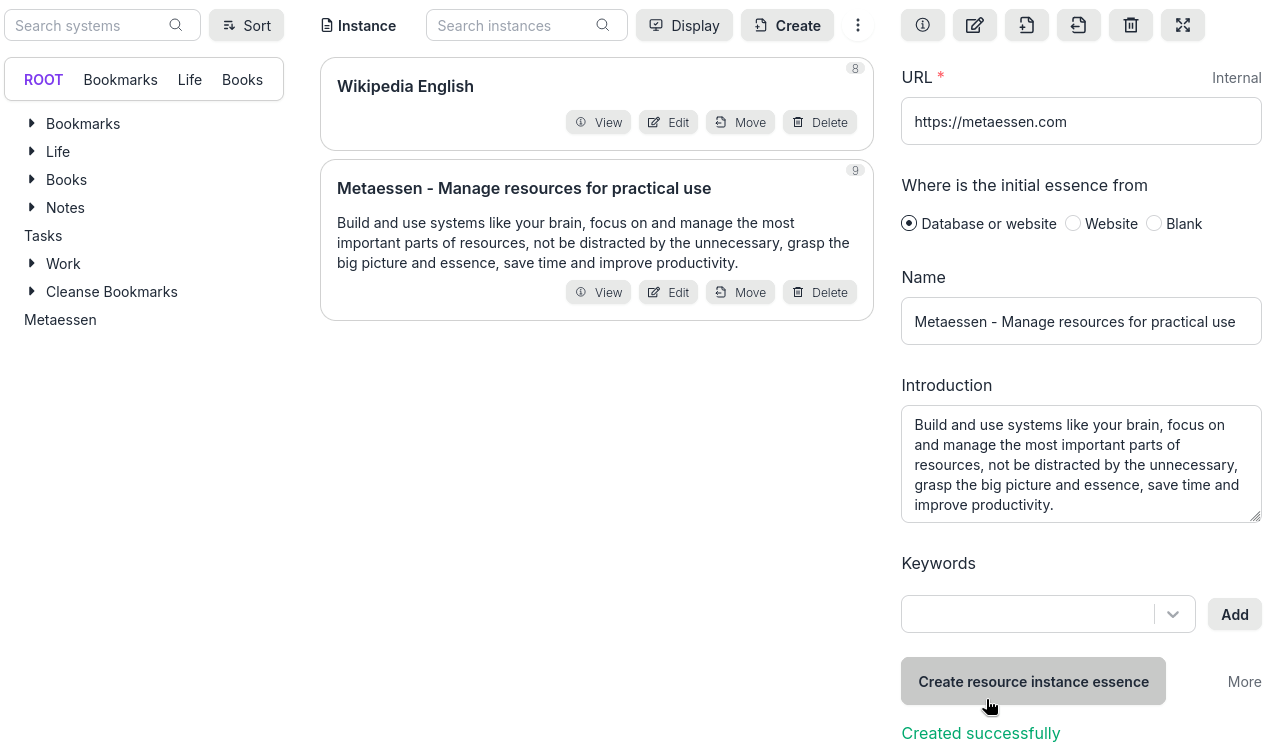
Created a resource instance successfully
Create a Resource Instance without URL
-
Click a system name to select it, for example, click the "ROOT" system
-
On the top bar of the entity list window, right click (or tap and hold) the "Create" button for an instance.
Right click the "Create" button to create an instance without URL -
The unnecessary fields are hidden, and just show the three necessary fields, and enter any text for at least one of them.
-
Click the "Create resource instance essence" button
-
After the creation is successful, you will see the instance essence in the entity list window. When creating a resource instance, a new resource will also be created with a URL created automatically.
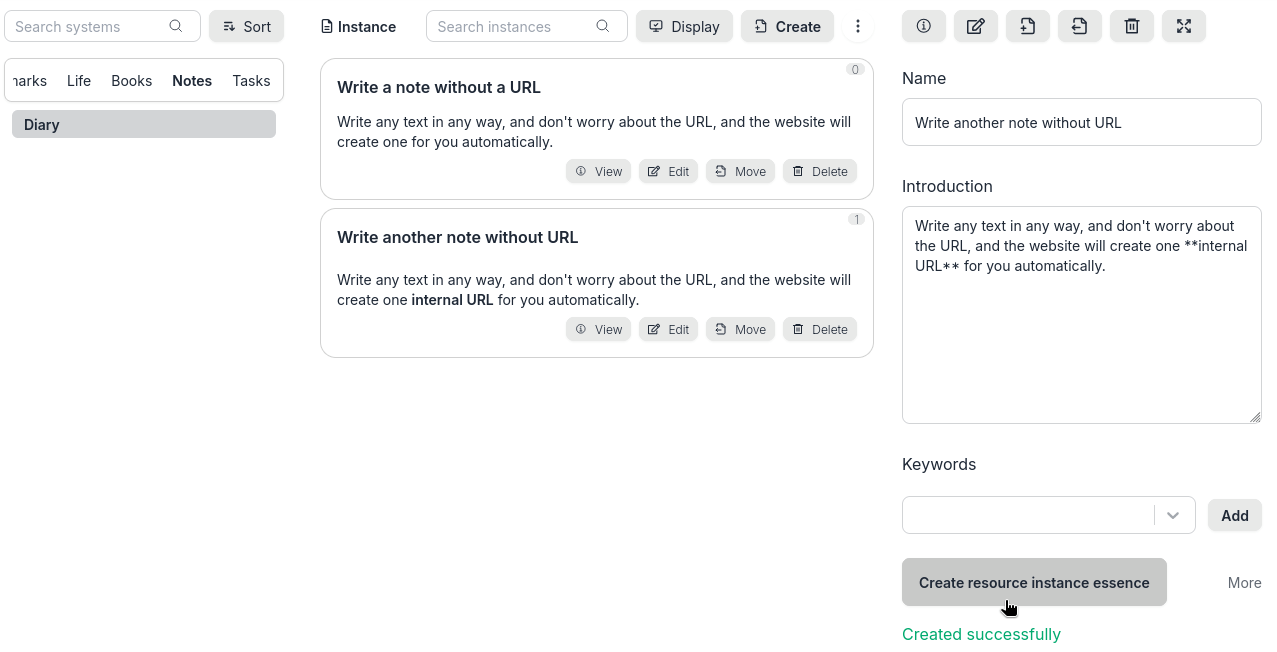
Created a resource instance using internal URL successfully
Add Keywords for a Resource Instance
-
Click the "Edit" button for a resource instance
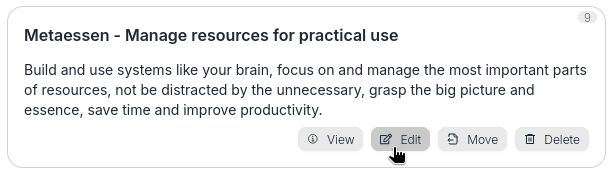
Click edit button to edit an instance -
In the resource instance editing window, enter a suitable keyword in the keywords field, such as "Bookmark manager",
-
Click the "Add" button

Add a keyword -
If you want to delete this keyword, click the delete "X" button on the right side of the corresponding keyword.

Delete a keyword -
If you want to edit based on this keyword, just click on this keyword. The content of the keyword will be copied to the keyword input box and then edited.

Click keyword button to copy its content to the input box -
Click the "Update resource instance essence" button
-
Upon successful update, the corresponding keywords will appear in the entity list window.
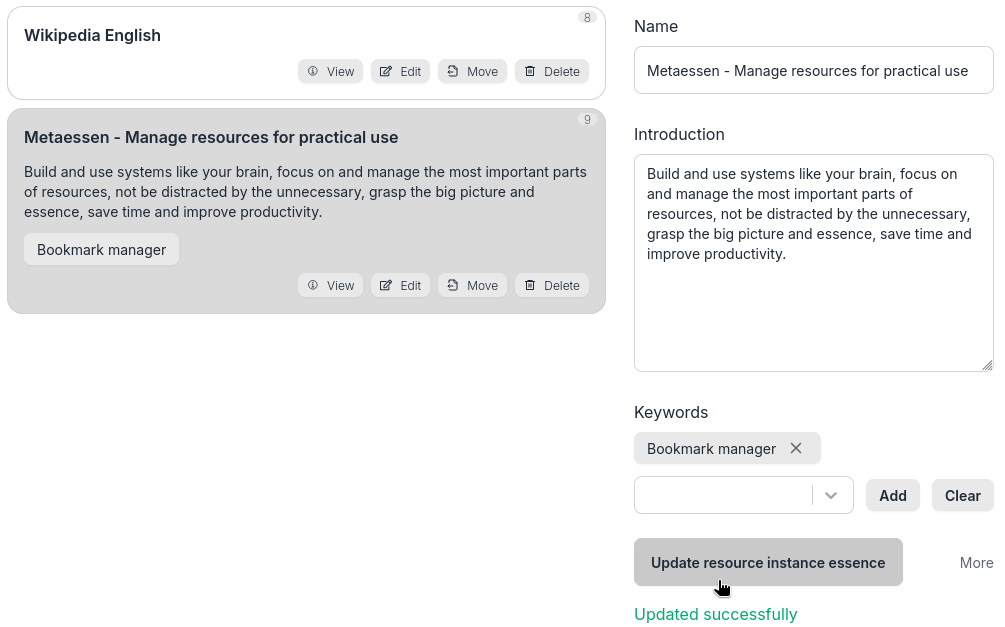
Add a keyword for an instance successfully
View or Manipulate the System Tree
-
If operating on a mobile phone, first tap the three-line menu button " ☰ " in the top-left corner to open the system tree page.
Open system tree on phone -
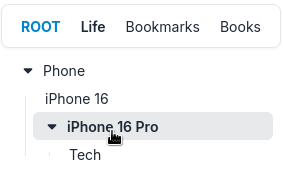
Click the arrow buttons "▸" "▾" in front of the system name to open or close the subsystem of this system.

Open or close system tree -
Click the system name to select it. Selecting the system will open the corresponding entity list window and the system detail window.
Click system name to select the system -
Right-click a system name to open the context menu, then click "Open All" to open all descendant systems of that system.

Open all descendant systems -
Right-click a system name to open the context menu, then click "Close All" to close all descendant systems of that system.

Close all descendant systems -
Click any system on the top systems bar at the top of the system tree window, and the window below the bar will display the complete system tree of all descendant systems (the descendant system hierarchy) for that system.

Click a top system to select the system
Switch to, View or Manipulate the System List
-
Click the "Entity type indicator / switcher" Button on the top bar of the entity list window.

Click entity type indicator / switcher -
Click and select "System"

Select and switch to system list -
In the system list window, you can view all systems in a list, including the name, path, introduction and keywords of each system. Click the system path to jump to this system in the system tree window and open all the ancestor systems of it.
Click system path to navigate the system in system tree -
If a system is bound to a resource via a URL, clicking the system name will allow you to visit or navigate to the web page corresponding to that URL.
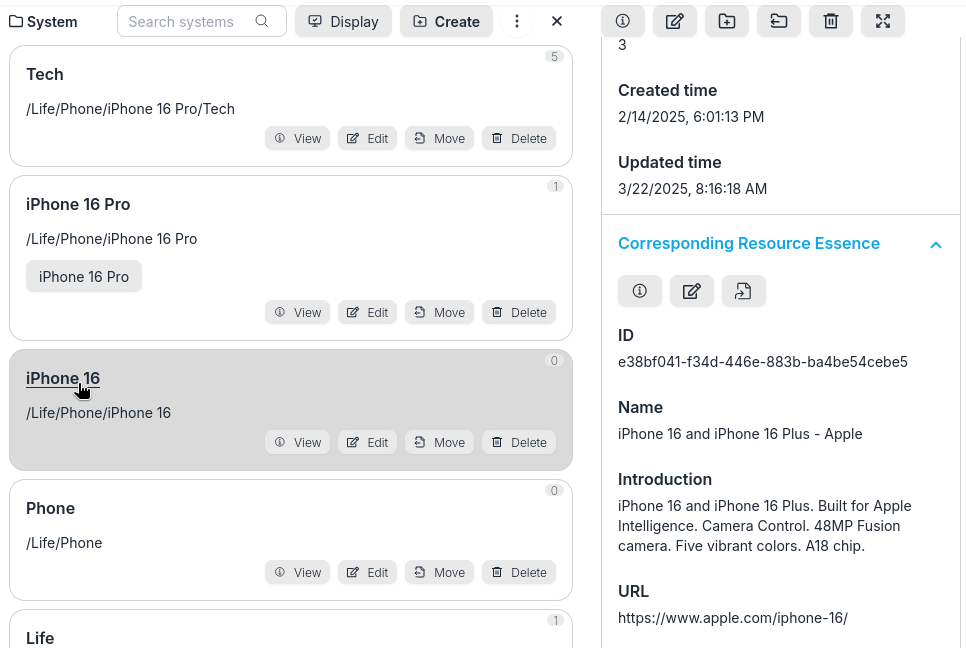
Click system name to go to the corresponding resource -
You can also click the system's operation buttons to view or manipulate the system.

Move a system to other position or new parent system -
Click the close button on the top bar to switch to the entity list window corresponding to the last selected system.

Click close button to switch to instance list
Search Systems
-
Enter a string in the search box of the system tree window, such as "iphone", and click the "Search" button

Click search button to search systems -
View or manipulate the system list in the search results window

System search results -
Click the "Close" button to close the search results window

Click close button on system search
Filter systems via keywords
-
Switch to the system list window
-
Find a keyword for a system and click on it
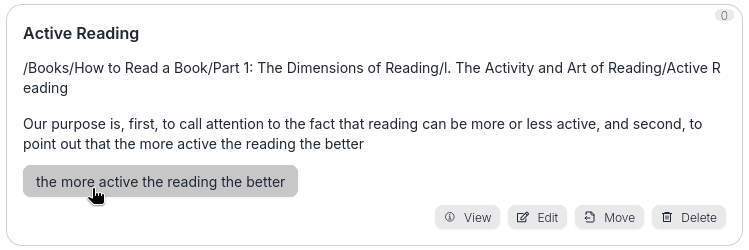
Click a keyword of a system -
View the results in the system filter results window
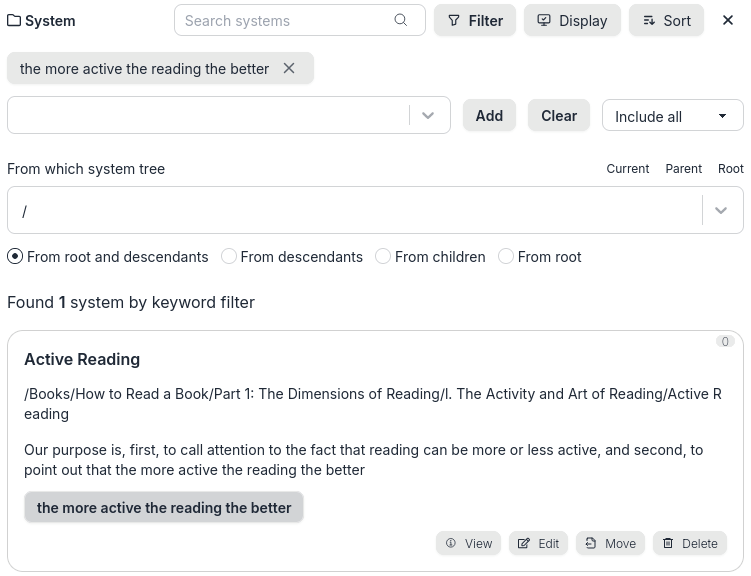
System keyword filter results -
Modify the filter conditions, such as adding another keyword and changing the filter operator option to "Include any"
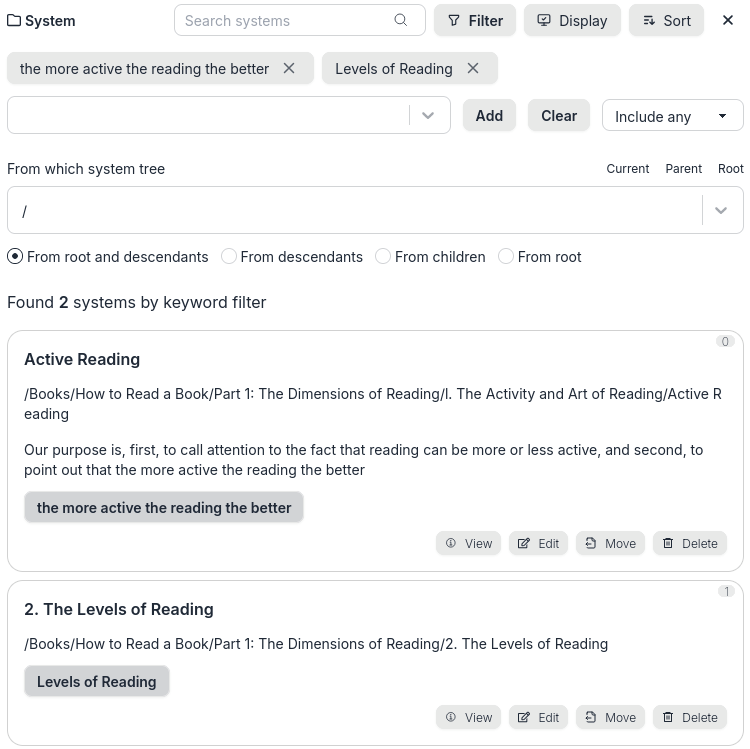
Edit filter conditions on system keyword filter -
Click the "Close" button to close the system filter results window

Click close button on system keyword filter
Switch to, View or Manipulate the Resource Instance List
-
Click a system name to switch to the resource instance list of this system
-
In the entity list window, you can view all instances under the corresponding system in list form, including the name, introduction and keywords of each instance
-
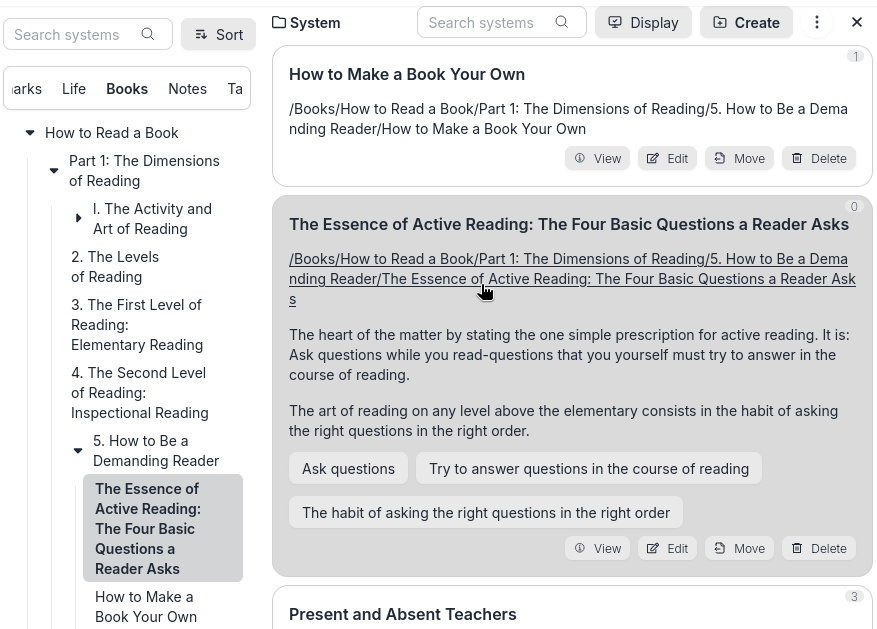
If the URL of the resource pointed to by an instance is a link to a web page, click the name of the instance to access or navigate to this web page.
Click the link of an instance -
Click the "View" button of an instance to view the detail of this instance
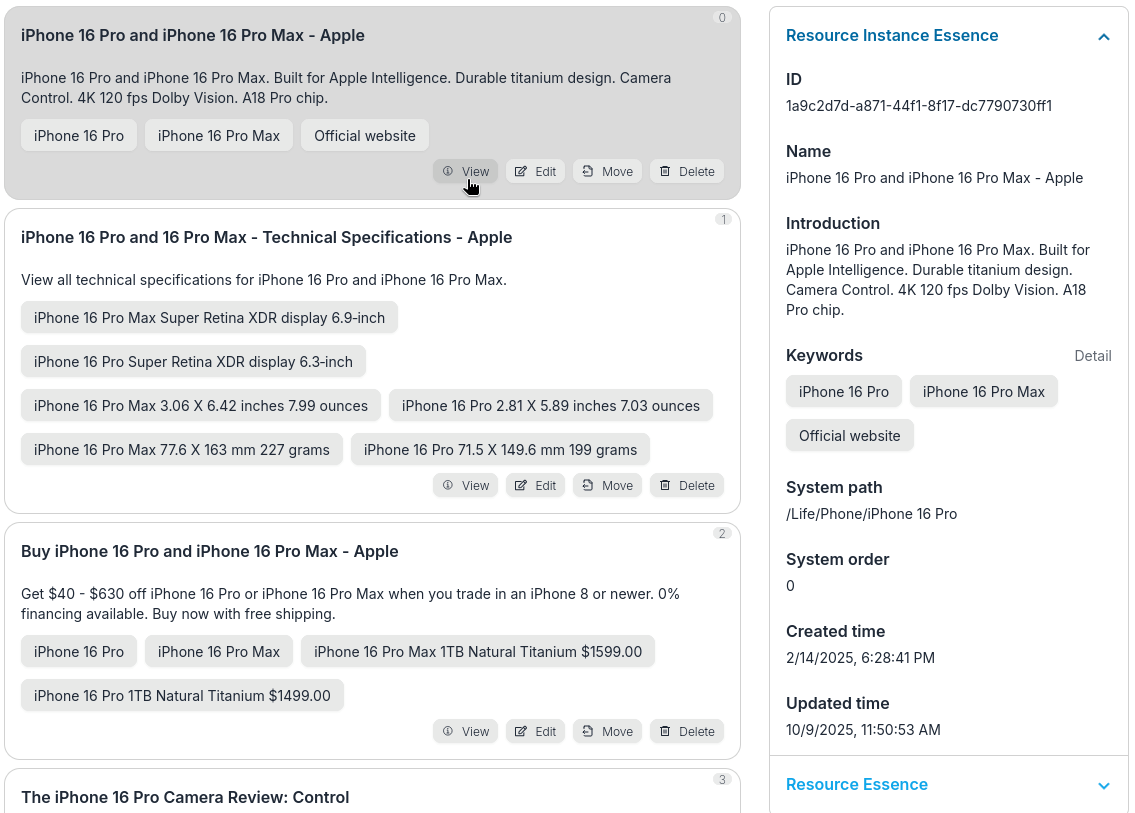
Click View button to view the detail of an instance -
In the instance detail window, you can also click the "Resource Essence" tab to view or manipulate the detail of the resource pointed to by this instance.
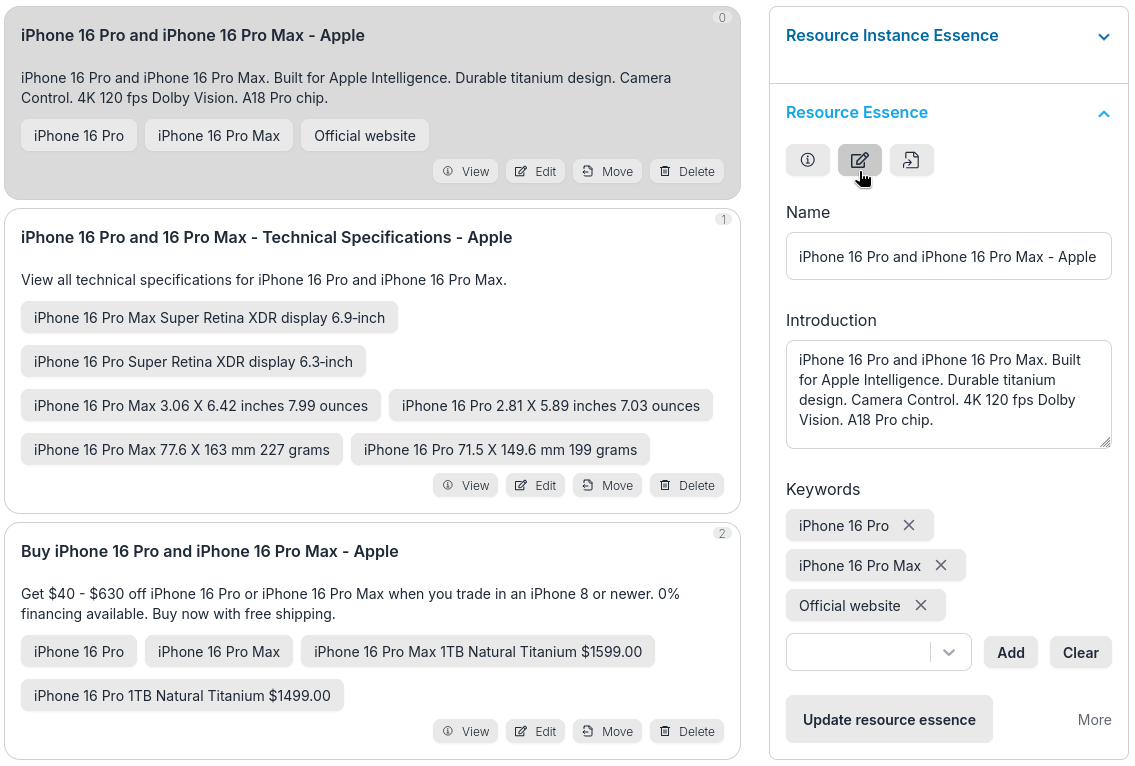
Right click Edit button to edit the corresponding resource on instance viewer -
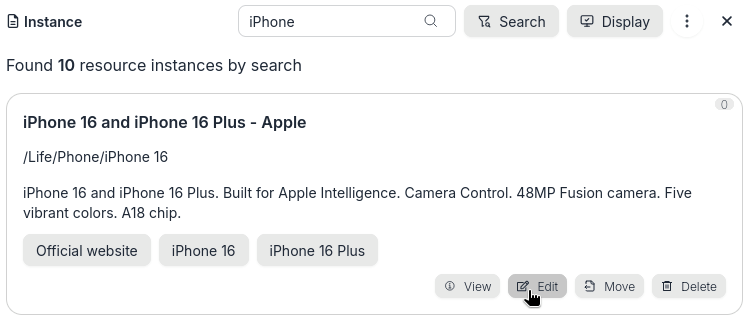
Click or Right click the "Edit" button of an instance to edit it.

Right click Edit button to edit the instance
Search Resource Instances
-
Enter a string, such as "iphone", in the search box in the entity list window and click the "Search" button

Click search button to search instances -
View or manipulate the instance list in the search results window
Instance search results -
Click the "Close" button to close the search results window

Click Close button on instance search
Filter Resource Instances via Keywords
-
Switch to the entity list window
-
Find a keyword for a resource instance and click on it
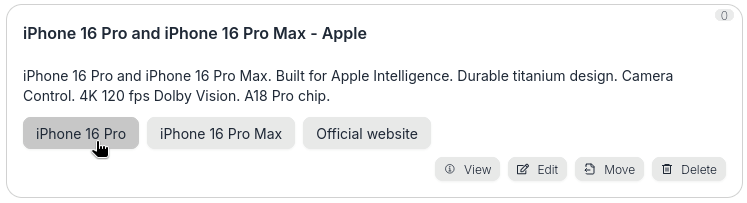
Click a keyword of an instance -
View the results in the Resource Instance Filter Results window
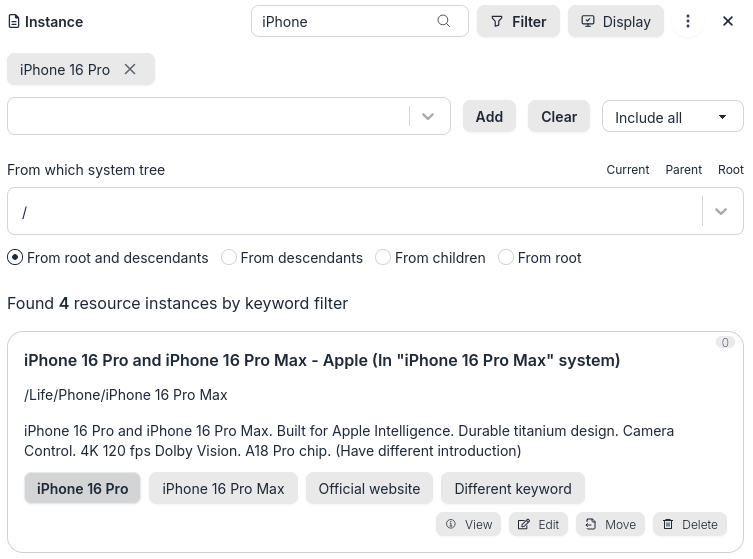
Instance keyword filter results -
Modify the filter conditions, such as adding another keyword and changing the filter operator option to "Include any"
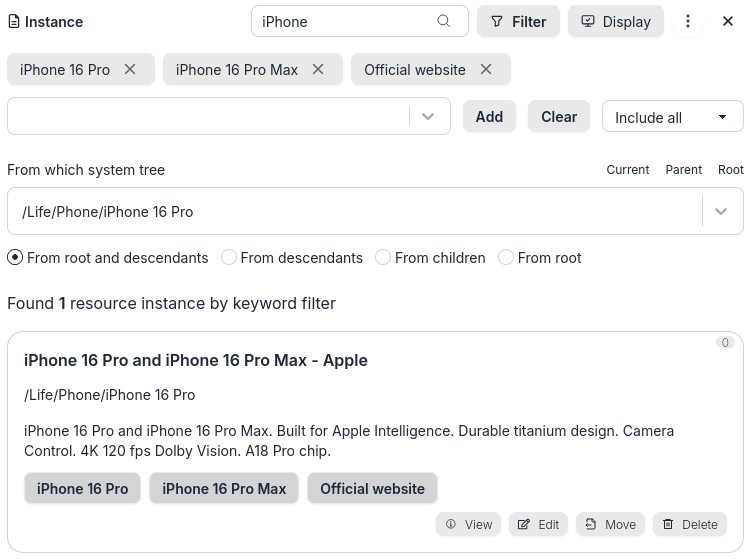
Edit filter conditions on instance keyword filter -
Click the "Close" button to close the resource instance filter results window

Click close button on instance keyword filter
Switch to, View or Manipulate Resource List
-
Click the "Entity type indicator / switcher" Button on the top bar of the entity list window.
Click entity type indicator / switcher -
Click and select "Resource"

Select and switch to resource list -
In the entity list window, you can view all resources in list form, including the name, description and keywords of each resource.
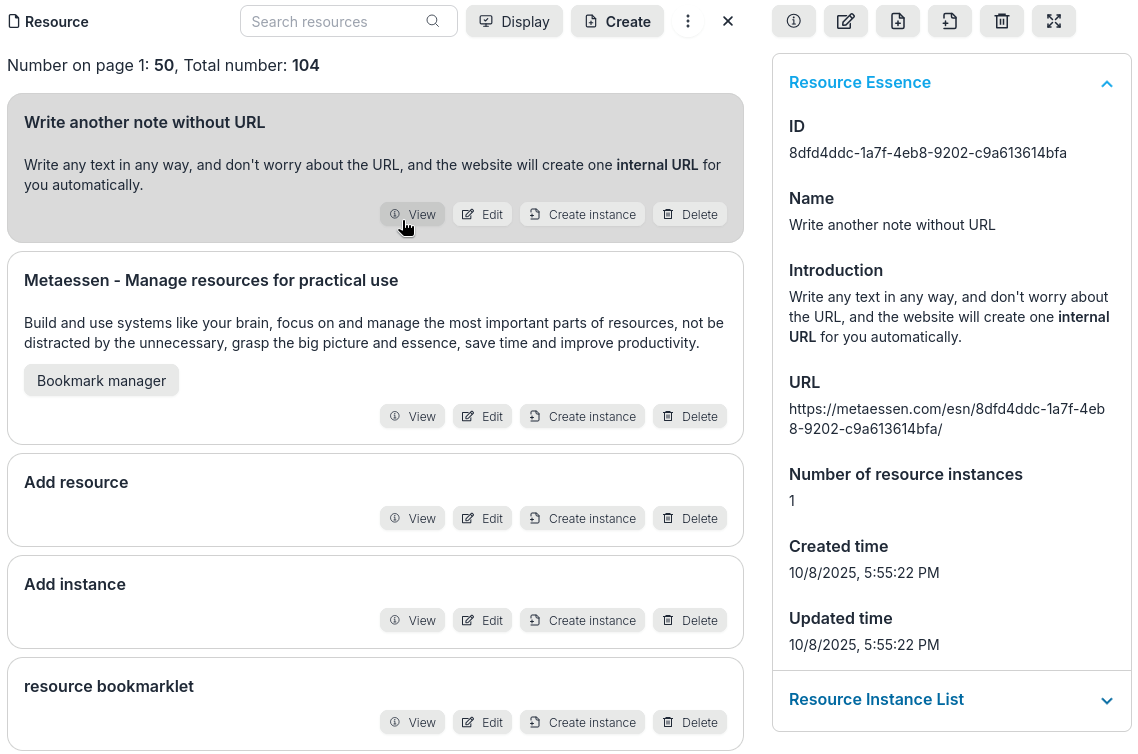
Resource list and click View button to view the detail of a resource -
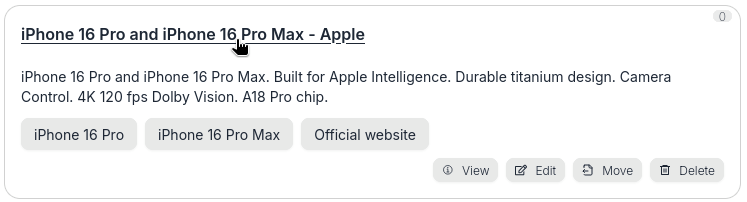
If the URL of a resource is a link to a web page, you can access or navigate to this web page by clicking the name of the resource.
Click the link of a resource -
In the resource detail window, you can also click the "Resource Instance List" tab to view or manipulate all instances of this resource.

Right click Edit button to edit an instance on resource viewer -
Click the "Close" button to close the entity list window for resources

Click close button on resource list
Search Resources
-
Enter a string, such as "iphone", in the search box in the entity list window and click the "Search" button

Click search button to search resources -
View or manipulate resource list in the search results window
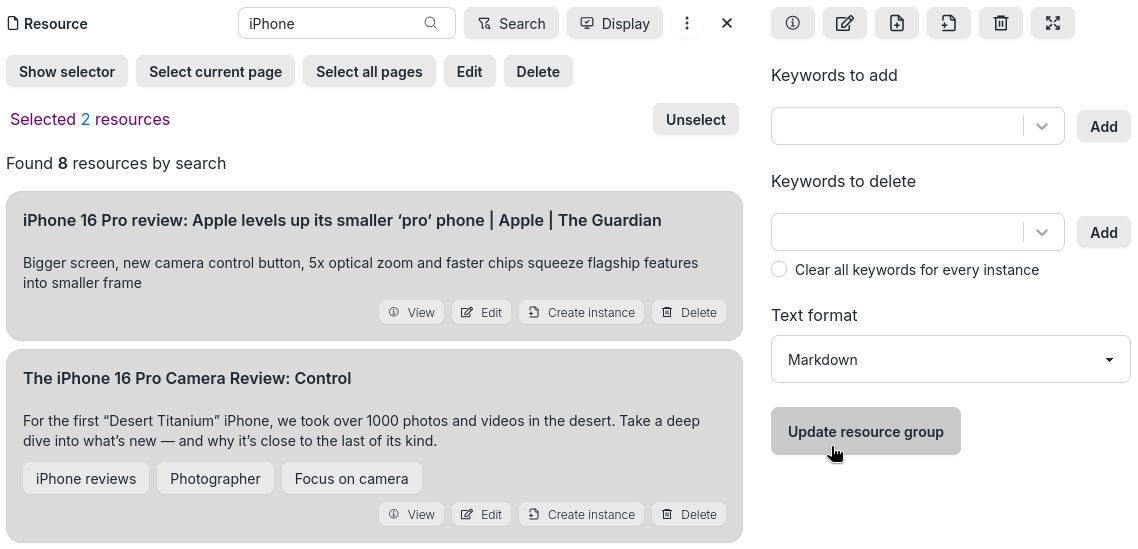
Edit a group of resources from resource search results -
Click the "Close" button to close the search results window

Click close button on resource search
Filter Resources via Keywords
-
Switch to the entity list window
-
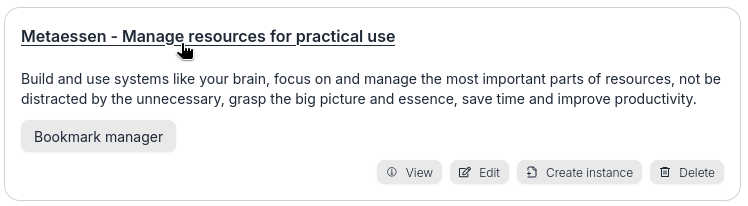
Find a keyword for a resource and click on it
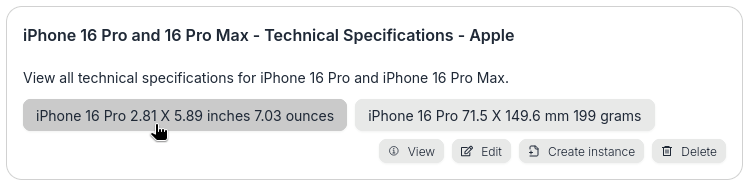
Click a keyword of a resource -
View the results in the resource filter results window
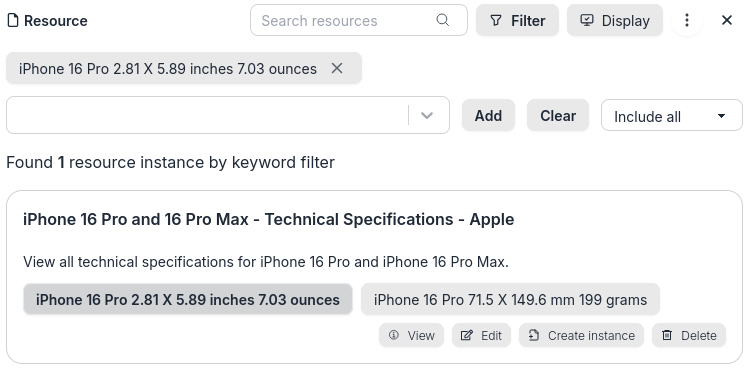
Resource keyword filter results -
Modify the filter conditions, such as adding another keyword and changing the filter operator option to "Include any"
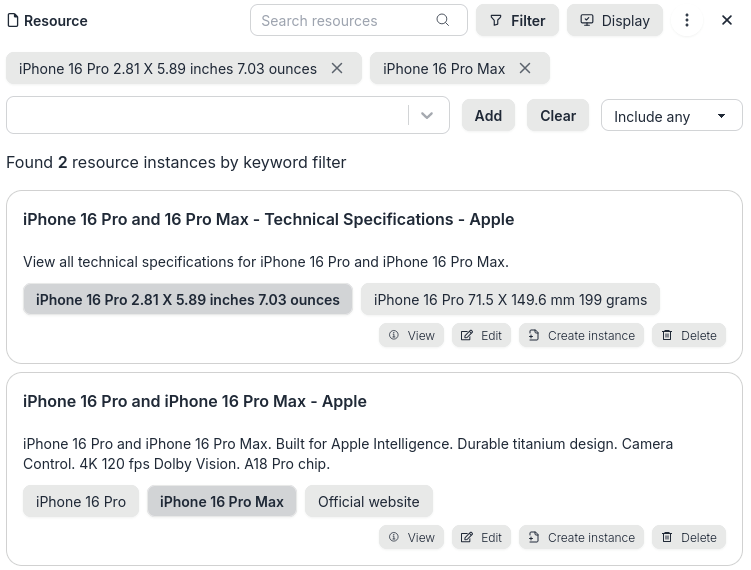
Edit filter conditions on resource keyword filter -
Click the "Close" button to close the resource filter results window

Click close button on resource keyword filter
Switch to, View or Manipulate Keyword List
-
Click the "Entity type indicator / switcher" Button on the top bar of the entity list window.
Click entity type indicator / switcher -
Click and select "Keyword"

Select and switch to keyword list -
In the keyword list window, you can view all keywords in list form, the content of each keyword, etc.
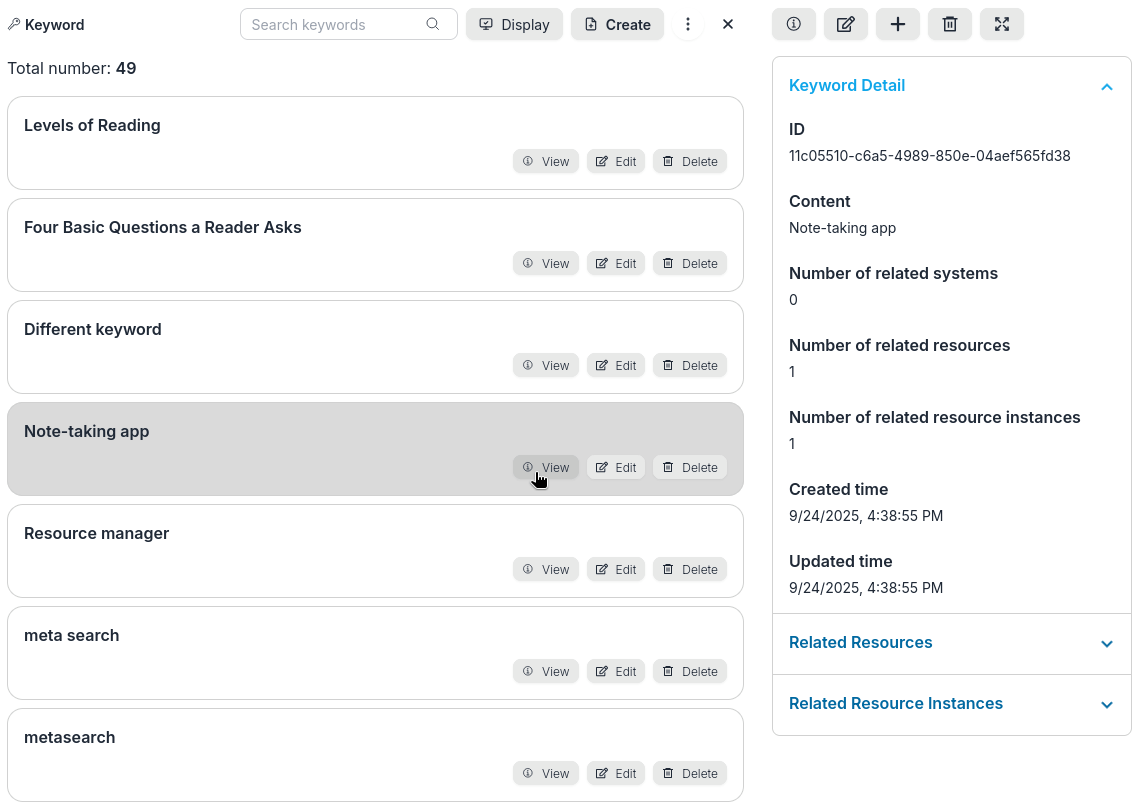
View the detail of a keyword in keyword list -
In the keyword detail window, you can also click the "Related Resources", "Related Resource Instances", and "Related Systems" tabs to view or manipulate the resources, instances, or systems related to this keyword.
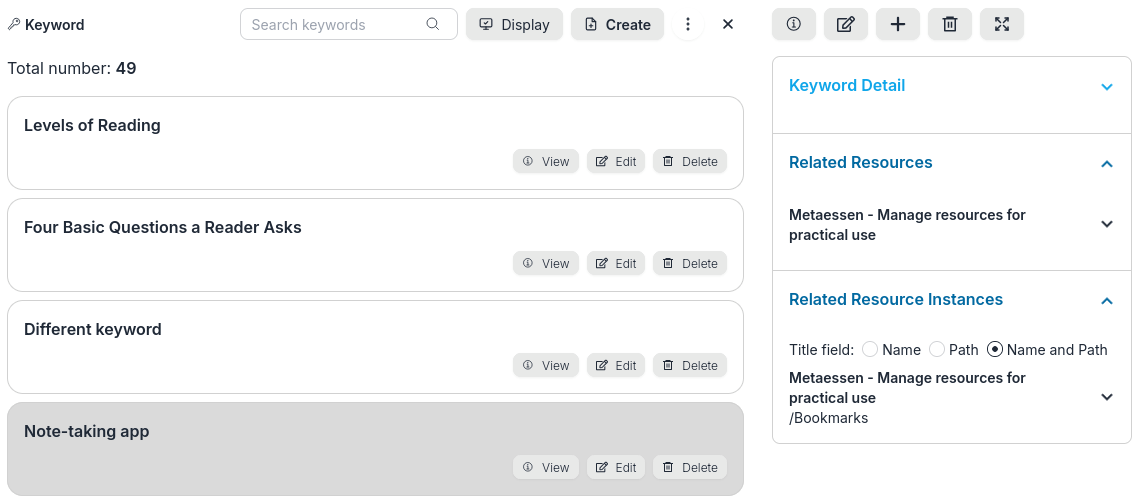
View related entities on keyword viewer -
Click the "Close" button to close the keyword list window

Click close button on keyword list
Search keywords
-
Enter a string, such as "iphone", in the search box in the keyword list window and click the "Search" button

Click search button to search keywords -
View or manipulate keyword list in the search results window
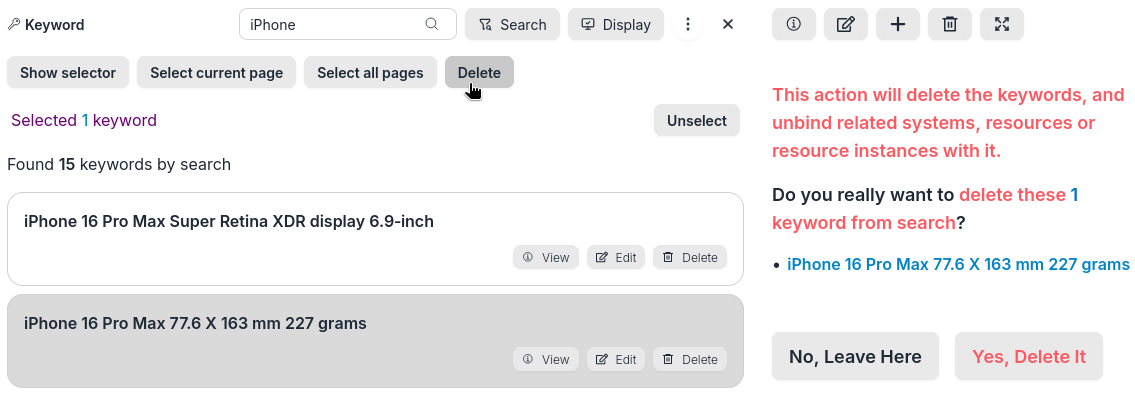
Delete a group of keywords from keyword search results -
Click the "Close" button to close the search results window

Click close button on keyword search
Export data
-
Select a system to switch to the entity list window, and click the Export button on the top bar of entity list window. You may need to click the More button "⋮" first.

Click Export button
Click More and Export button -
Select the data you want to export and other options based on the situation, click the "Select options to backup all data" option, click "Get download link", and then click the download link obtained from the server.
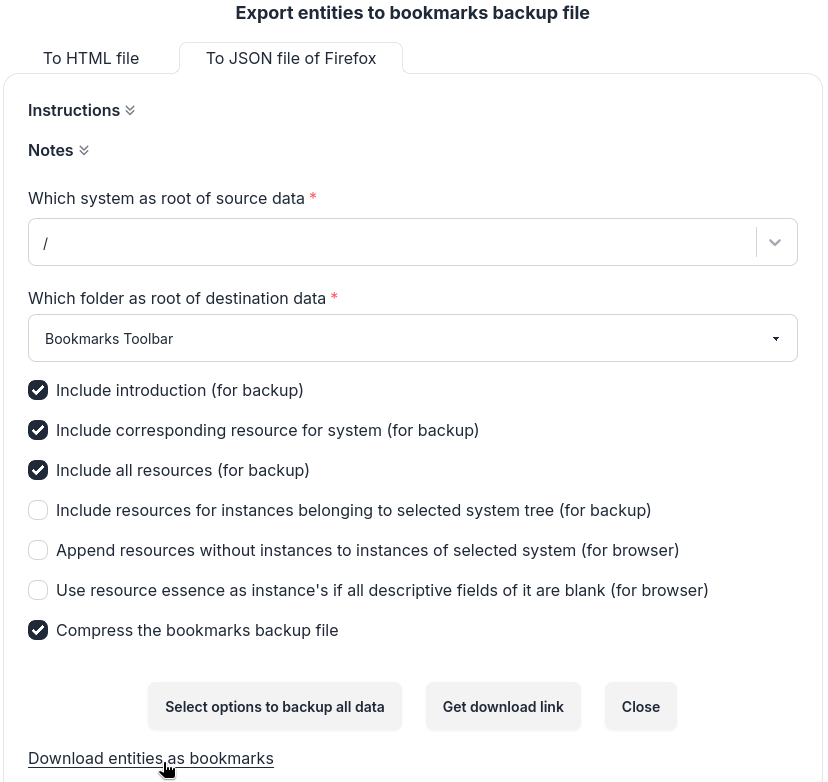
Export data as bookmarks backup file
View or Manipulate Settings
-
Click your username in the upper right corner to open the menu and click the "Settings" menu item, or click the "settings" button on header.

Click Settings menu item
Click Settings button -
In the "Profile" settings, you can modify your username, last name, first name, and close your account.
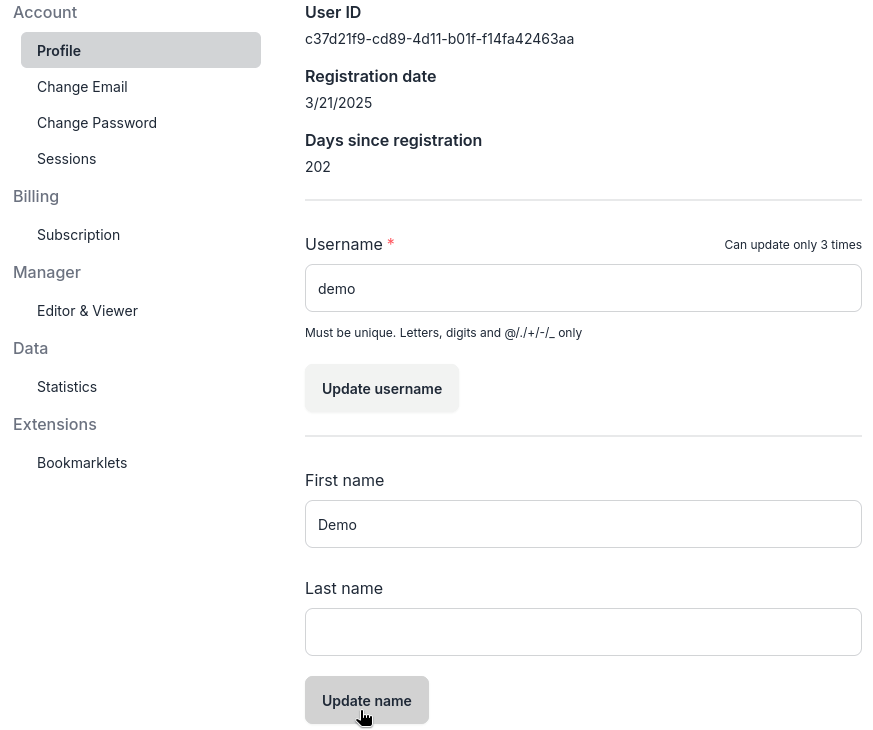
Edit user profile -
You can also change your email address, password, and view your login sessions
-
In the subscription settings, you can view the subscription price, period, whether it is paid, etc. If it is not paid, a payment button will be displayed.
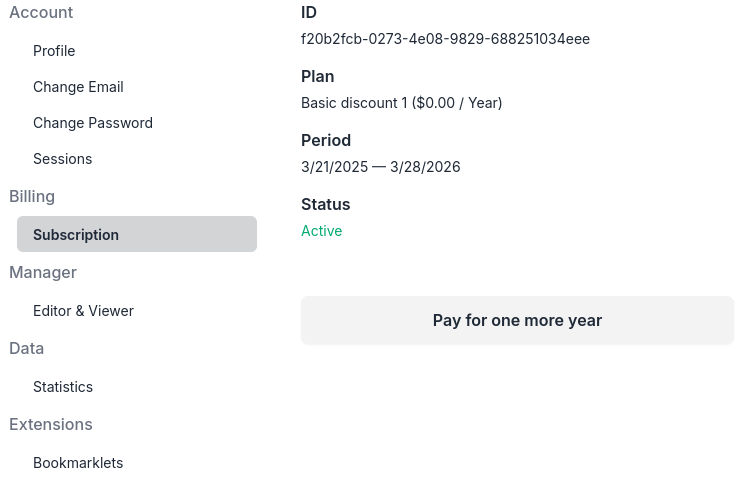
Subscription infomation or pay for your subscription